参考资料文档和视频,Google colab、Goolge云端硬盘
1.打开文档,点击【文件】【在云端硬盘中保存一份副本】,即将文档复制到自己云端硬盘。

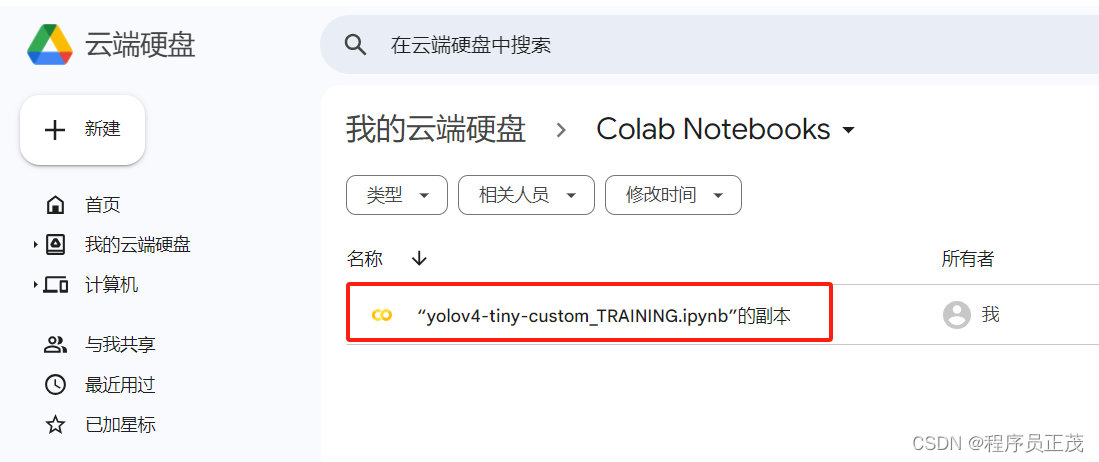
2.打开该文件,按文中提示进行。

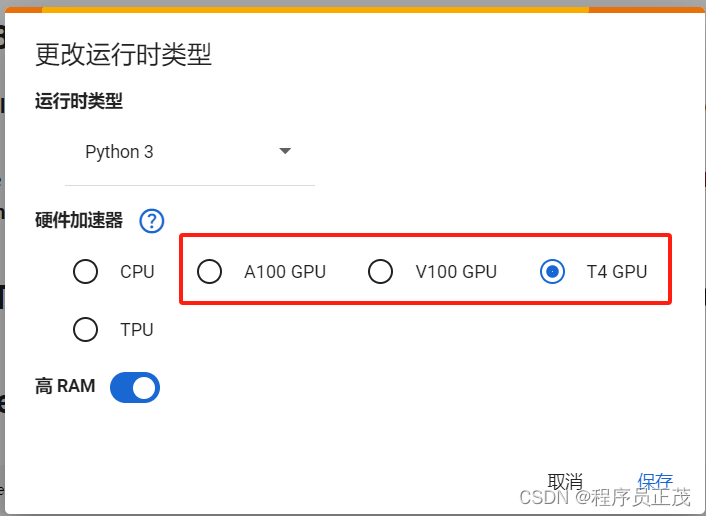
【代码执行程序】【更改运行时类型】修改运行时为GPU(免费的GPU不好用,收费的好用,某宝上几十元就可用一个月)
步骤1)
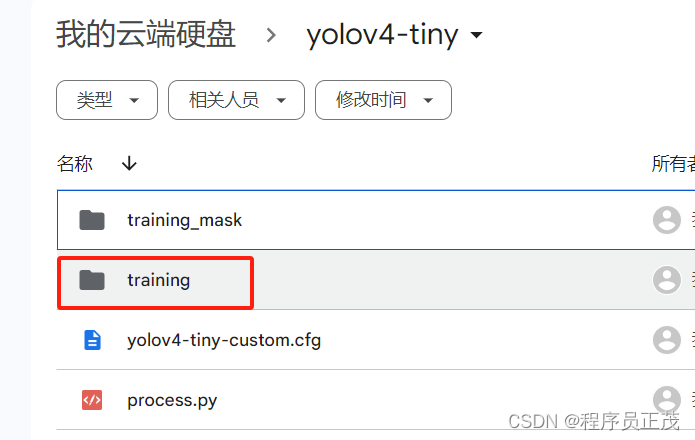
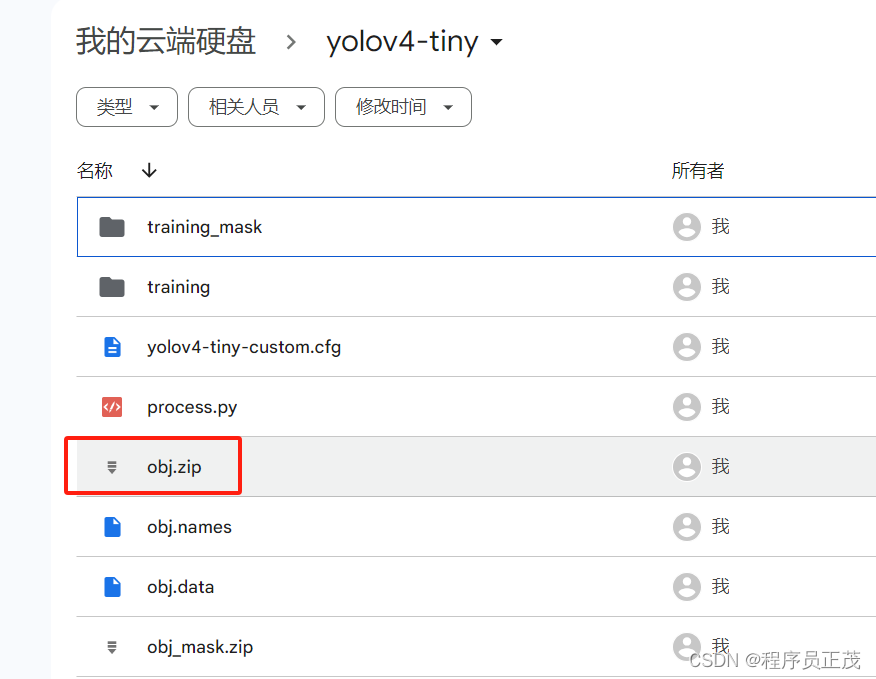
!git clone https://github.com/AlexeyAB/darknet 步骤2)在云盘上新建文件夹yolov4-tiny,在yolov4-tiny中再新增training文件夹

步骤3a)将数据集上传到yolov4-tiny文件夹下
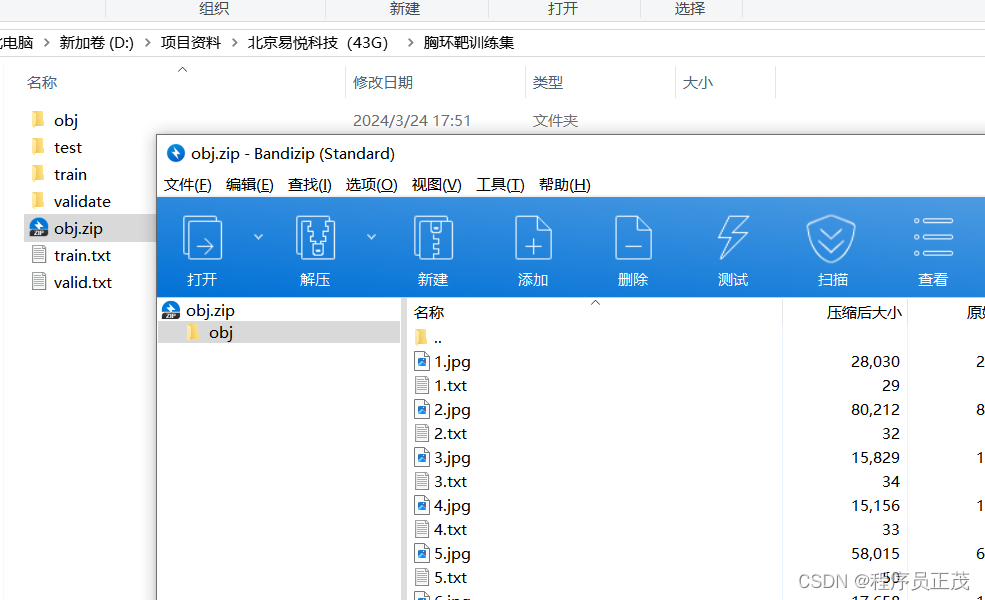
这里说明一下数据集的处理注意事件
(1)这里用的图像标注工具为labelImg(注:labelImg经常闪退,可以使用其他标记工具,可以见这篇博客《几种Yolo图像标注工具》)
(2)切换到YOLO模式
(3)在View中开启自动保存模式
(4)当图片文件夹改变时,txt保存文件夹也要改变(【File】【Change Save Dir】)
(5)图片格式只能为jpg(小写),大写的JPG,或jepg、png等都不行。
(6)训练集中的图片尺寸可以一样,比如500*550,300*400都可以

步骤3b)下载 darknet/cfg下的yolov4-tiny-custom.cfg


修改yolov4-tiny-custom.cfg(与文档中的说明有差异)
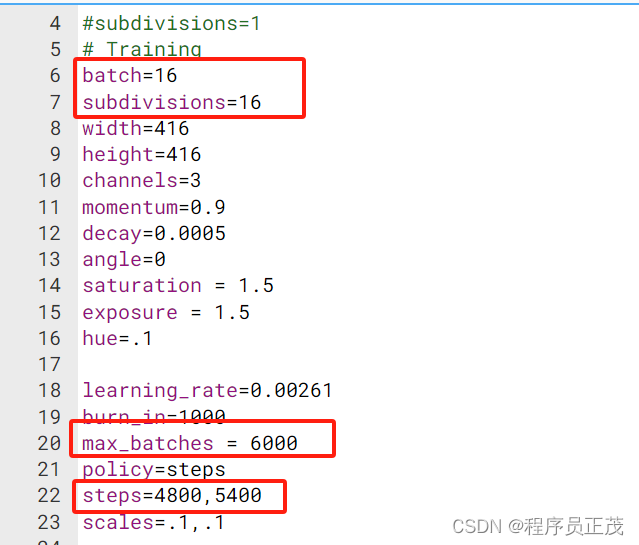
有两处yolo需要改

修改完后上传到yolov4-tiny文件夹

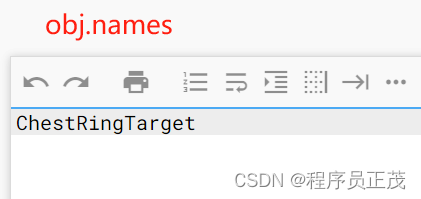
步骤3c)在yolov4-tiny文件夹,新建文件obj.data、obj.names
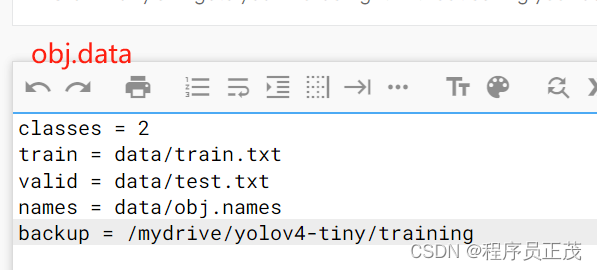
classes = 2
train = data/train.txt
valid = data/test.txt
names = data/obj.names
backup = /mydrive/yolov4-tiny/training步骤3d)在github下载process.py,然后上传到yolov4-tiny
import glob, os

# Current directory
current_dir = os.path.dirname(os.path.abspath(__file__))

print(current_dir)

current_dir = 'data/obj'

# Percentage of images to be used for the test set
percentage_test = 10;

# Create and/or truncate train.txt and test.txt
file_train = open('data/train.txt', 'w')
file_test = open('data/test.txt', 'w')

# Populate train.txt and test.txt
counter = 1
index_test = round(100 / percentage_test)
for pathAndFilename in glob.iglob(os.path.join(current_dir, "*.jpg")):
    title, ext = os.path.splitext(os.path.basename(pathAndFilename))

    if counter == index_test:
        counter = 1
        file_test.write("data/obj" + "/" + title + '.jpg' + "\n")
    else:
        file_train.write("data/obj" + "/" + title + '.jpg' + "\n")
        counter = counter + 1
4)步加载云盘
#mount drive
%cd ..
from google.colab import drive
drive.mount('/content/gdrive')

# this creates a symbolic link so that now the path /content/gdrive/My\ Drive/ is equal to /mydrive
!ln -s /content/gdrive/My\ Drive/ /mydrive

# list contents in yolov4-tiny folder in your drive
!ls /mydrive/yolov4-tiny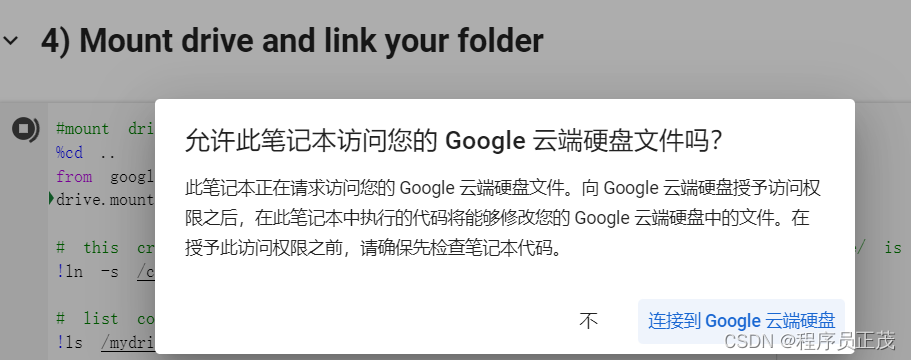
5)步开启OpenCV和GPU
# change makefile to have GPU and OPENCV enabled
# also set CUDNN, CUDNN_HALF and LIBSO to 1

%cd /content/darknet/
!sed -i 's/OPENCV=0/OPENCV=1/' Makefile
!sed -i 's/GPU=0/GPU=1/' Makefile
!sed -i 's/CUDNN=0/CUDNN=1/' Makefile
!sed -i 's/CUDNN_HALF=0/CUDNN_HALF=1/' Makefile
!sed -i 's/LIBSO=0/LIBSO=1/' Makefile
6)步构建darknet
# build darknet
!make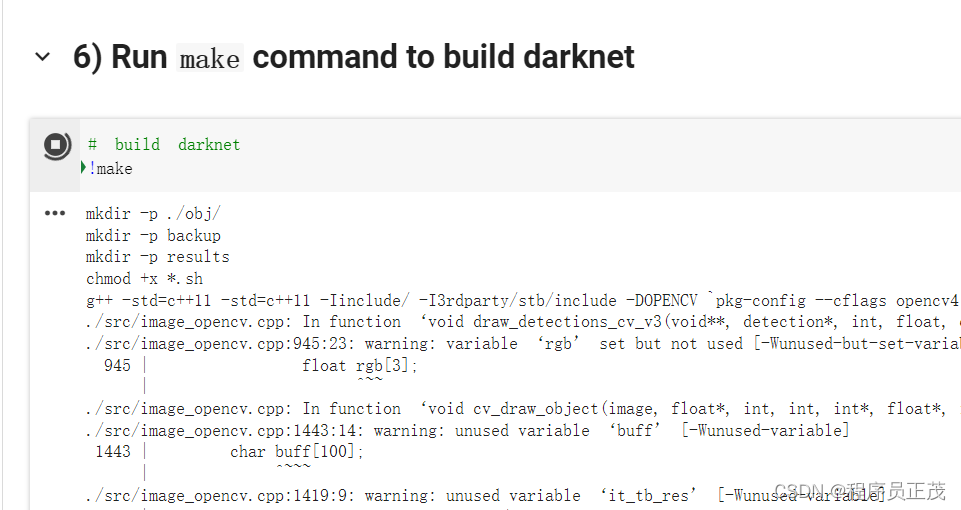
7)复制文件到darknet文件夹下
# Clean the data and cfg folders first except the labels folder in data which is required

%cd data/
!find -maxdepth 1 -type f -exec rm -rf {} \;
%cd ..

%rm -rf cfg/
%mkdir cfg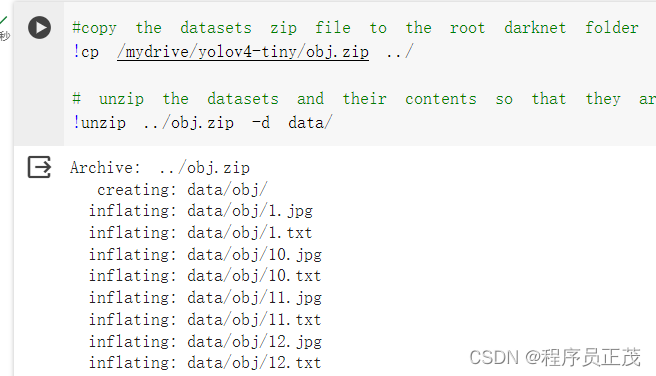
#copy the datasets zip file to the root darknet folder
!cp /mydrive/yolov4-tiny/obj.zip ../

# unzip the datasets and their contents so that they are now in /darknet/data/ folder
!unzip ../obj.zip -d data/
#copy the custom cfg file from the drive to the darknet/cfg folder
!cp /mydrive/yolov4-tiny/yolov4-tiny-custom.cfg ./cfg# copy the obj.names and obj.data files so that they are now in /darknet/data/ folder
!cp /mydrive/yolov4-tiny/obj.names ./data
!cp /mydrive/yolov4-tiny/obj.data ./data#copy the process.py file from the drive to the darknet directory
!cp /mydrive/yolov4-tiny/process.py ./8)运行process.py,创建train.txt和test.txt在data目录下
# run process.py ( this creates the train.txt and test.txt files in our darknet/data folder )
!python process.py

# list the contents of data folder to check if the train.txt and test.txt files have been created
!ls data/
9)下载预训练文件
# Download the yolov4-tiny pre-trained weights file
!wget https://github.com/AlexeyAB/darknet/releases/download/darknet_yolo_v4_pre/yolov4-tiny.conv.29
10)开始训练
# train your custom detector! (uncomment %%capture below if you run into memory issues or your Colab is crashing)
# %%capture

!./darknet detector train data/obj.data cfg/yolov4-tiny-custom.cfg yolov4-tiny.conv.29 -dont_show -map
如果提示错误:./darknet: error while loading shared libraries: libcuda.so.1: cannot open shared object file: No such file or directory
运行时类型改为GPU,参照上文。

训练成功是这样的


如果中途退出了,接着上次的断点继续训练
#to restart training your custom detector where you left off(using the weights that were saved last)

!./darknet detector train data/obj.data cfg/yolov4-tiny-custom.cfg /mydrive/yolov4-tiny/training/yolov4-tiny-custom_last.weights -dont_show -map
11)查看训练结果
# define helper function imShow
def imShow(path):
  import cv2
  import matplotlib.pyplot as plt
  %matplotlib inline

  image = cv2.imread(path)
  height, width = image.shape[:2]
  resized_image = cv2.resize(image,(3*width, 3*height), interpolation = cv2.INTER_CUBIC)

  fig = plt.gcf()
  fig.set_size_inches(18, 10)
  plt.axis("off")
  plt.imshow(cv2.cvtColor(resized_image, cv2.COLOR_BGR2RGB))
  #plt.show('')
#only works if the training does not get interrupted
imShow('chart.png')
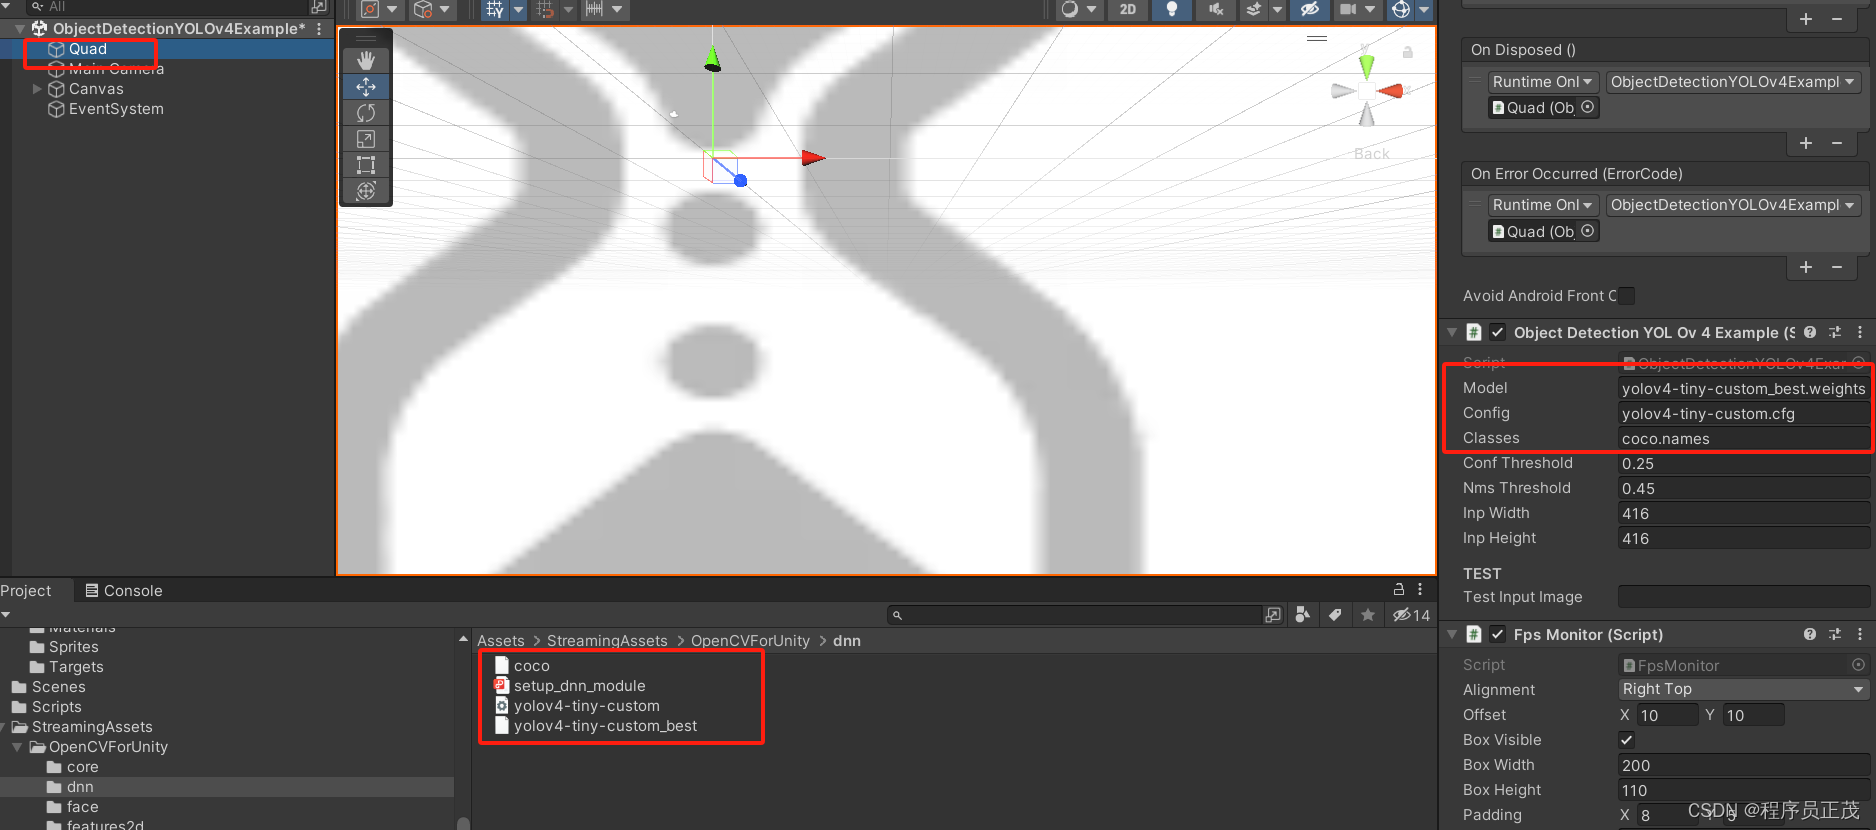
在Unity For Unity2.5.9(Unity2021.3.35f1)中使用
在菜单【Tools】【OpenCV for Unity】【Open Setup Tools】,将“OpenCVForUnity/StreamingAssets”移动到“Assest下/StreamingAssets"

将训练用的coco.names、yolov4-tiny-custom.cfg、yolov4-tiny-custom_best.weights放到Assets\StreamingAssets\OpenCVForUnity\dnn下
打开ObjectDetectionYOLOv4Example
 配置识别文件